Auth setup with Neon, Keycloak and Koyeb
Learn how to use Keycloak with Neon, and how to deploy Keycloak on Koyeb.
Keycloak is an open-source identity and access management solution that centralizes authentication and authorization management. It provides features such as single sign-on (SSO), two-factor authentication, social login, and user federation with LDAP or Active Directory user federation. Various identity protocols such as Open ID Connect, SAML 2.0, and OAuth 2.0 are supported, which makes integrating Keycloak with new and existing applications easy.
Whether you’re a novice getting started with Keycloak or a veteran user, you’ll need a database to support your Keycloak deployment in production. Since Keycloak has first-class support for Postgres, this guide will outline a minimal setup to use Keycloak with Neon’s Postgres. All configurations and code in this guide can be found in the neondatabase/keycloak-example repository on GitHub.
Create a Neon project and Keycloak Database
Each Neon project includes a single Postgres instance that contains a neondb database by default. Still, it’s best to create a dedicated keycloak database to store Keycloak’s data.
To create a project, visit the Neon console. If it’s your first time visiting the console you should be prompted to create a new project as shown. If you already have a project you’d like to use, select it from the projects list.
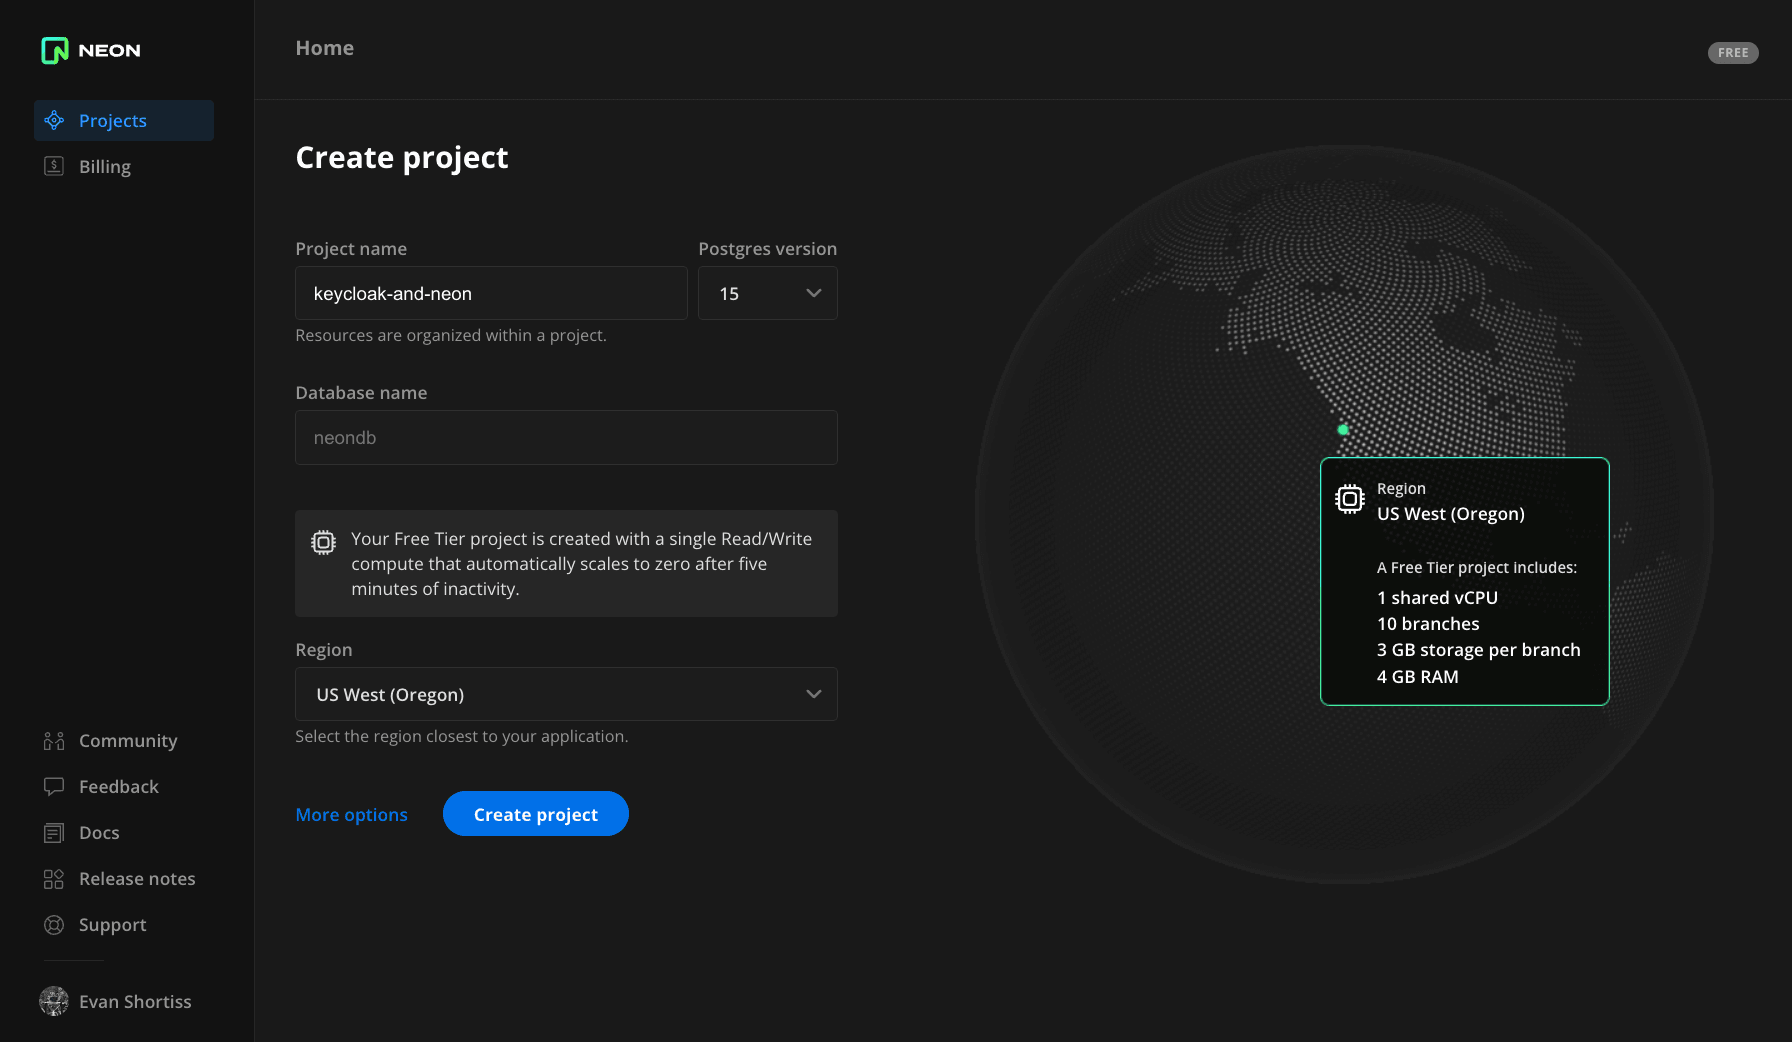
Create the Keycloak database by visiting the SQL Editor section of your project, and running the following query:
CREATE DATABASE keycloak;You can verify that the keycloak database was created by viewing the Databases section of the Neon console or running the SELECT datname FROM pg_database; query in the SQL Editor.
Configure a Keycloak Database User
Instead of accessing your new keycloak database using the default user with the neon_superuser role, creating a new user named keycloak_admin is best. This new user will have administrative privileges limited to the keycloak database.
Use the Neon SQL Editor to input the commands to create the user and assign permissions:
- Visit the SQL Editor in your project.
- Select the
keycloakdatabase using the dropdown menu in the top-right.
Issue the following command to create a new user named keycloak_admin, making sure to replace the password with a value that has 60 bits of entropy, per our documentation:
/* Create a strong password per: https://neon.tech/docs/manage/roles */
CREATE USER keycloak_admin WITH PASSWORD 'r3plac3_th1s';

/* Assign permissions to the `keycloak_admin` user */
GRANT ALL ON SCHEMA public TO keycloak_admin;
Deploy Keycloak on Koyeb
Keycloak can be deployed on a machine with a JDK installed, or from a container image using Docker or Podman. Setting up infrastructure manually can be quite a chore, so instead I’ll show you how to deploy Keycloak on Koyeb with valid SSL certificates. If they support deploying container images, you can replace Koyeb with your preferred hosting provider.
To get started, sign up for an account at koyeb.com. Next, click this link to start deploying Keycloak on Koyeb from a template with some preconfigured values.
Set the following parameters for the deployment:
- Instance type: Eco is adequate for testing.
- Region: Choose the region closest to your Neon Postges database’s region.
- Configure the following environment variables:
KC_DB_URL: Replace theNEON_HOSTNAMEwith your Neon database’s hostname from the Connection Details on Neon’s console, e.gep-broken-hill-12345.us-east-2.aws.neon.tech.KC_DB_USERNAME:keycloak_admin.KC_DB_PASSWORD: The password you set forkeycloak_admin.KC_HOSTNAME: This must match the hostname you define when deploying the service on Koyeb. The hostname is listed at the bottom of the deploy page and is a combination of the App name and your organization name, e.gkeycloak-your-org.koyeb.app.KEYCLOAK_ADMIN_PASSWORD: This will be the password you use to log in as theadminuser and perform administrative actions in Keycloak
Click the Deploy button and you’ll be directed to a screen where you can monitor the status of your deployment.
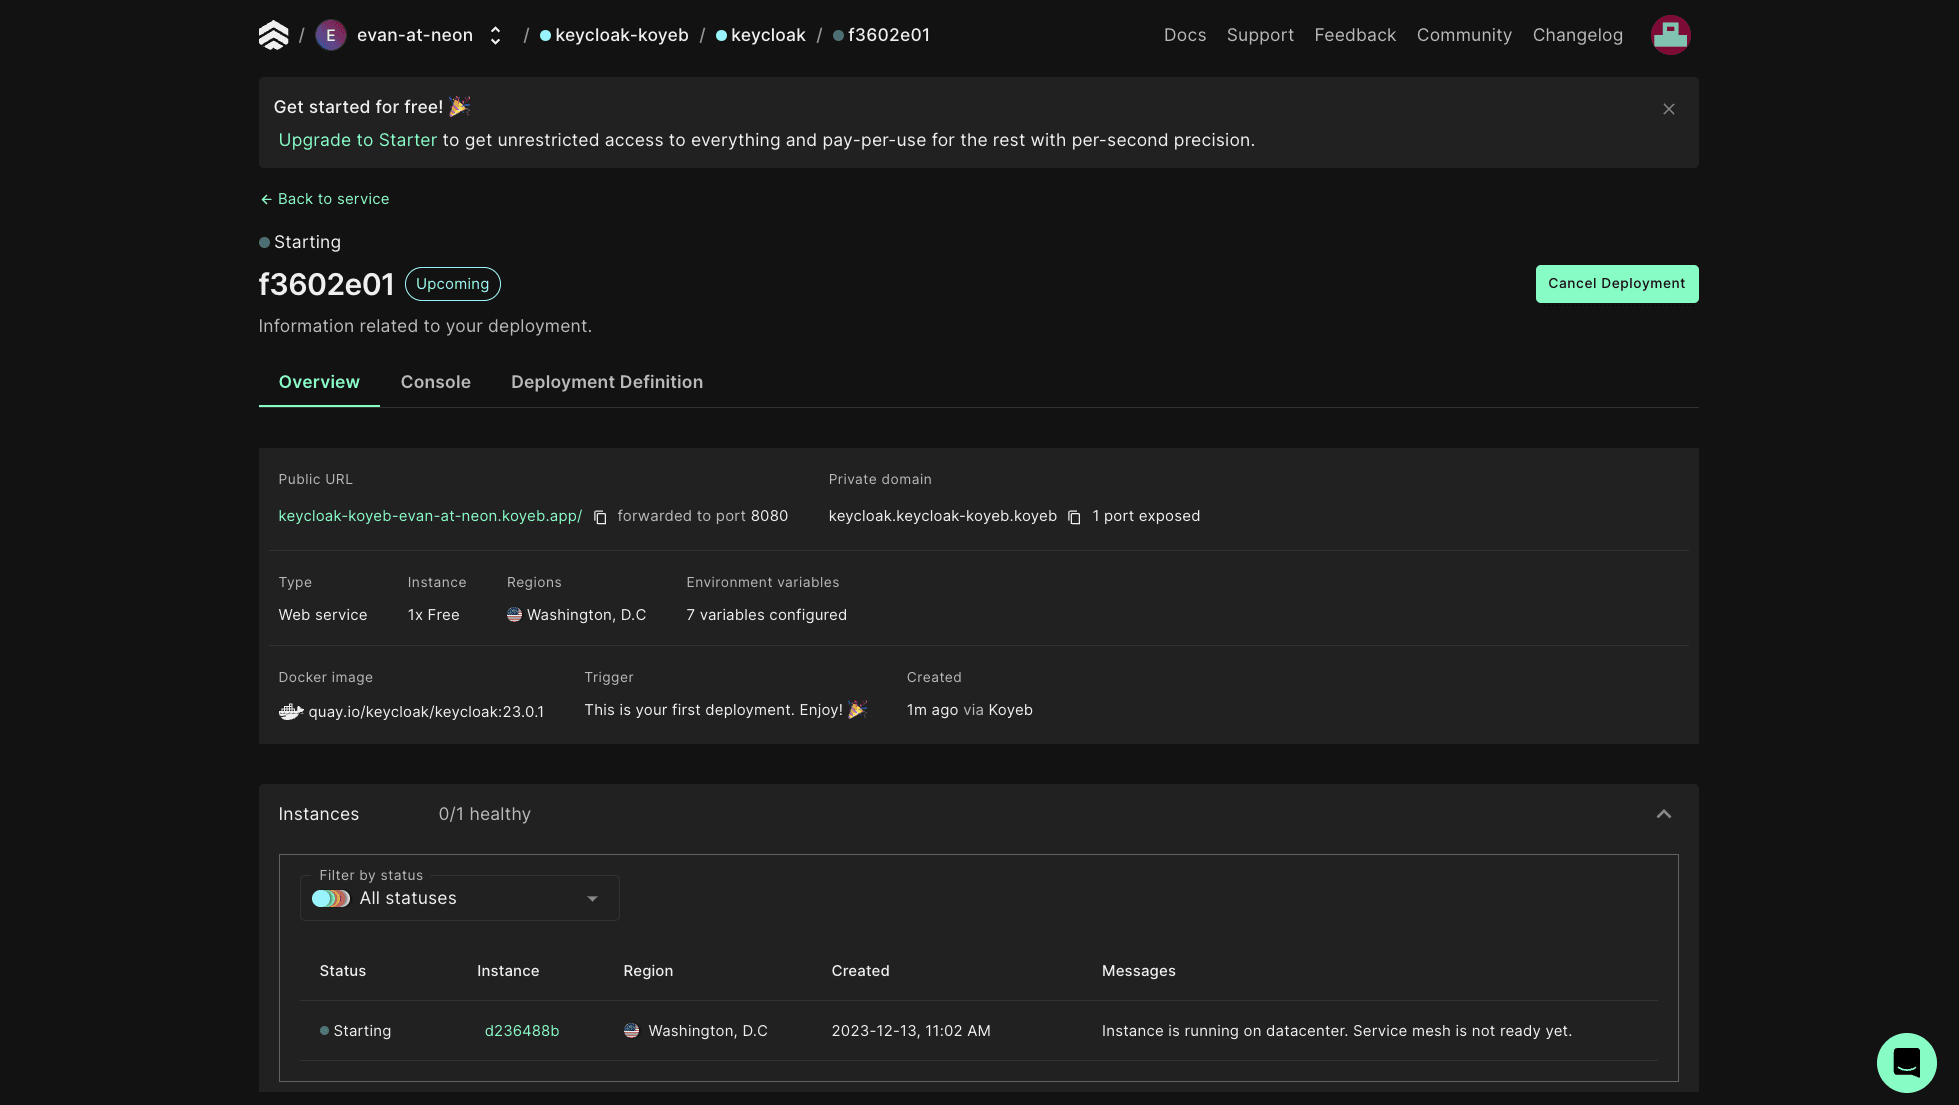
Scroll down to the bottom of this page and wait for the logs to print a line stating that Keycloak has started. It will resemble the following example:
Keycloak 23.0.1 on JVM (powered by Quarkus 3.2.9.Final) started in 33.009s. Listening on: http://0.0.0.0:8080Create a Keycloak Realm and Client
Keycloak uses the concept of realms to create a self-contained space where you manage users, roles, and authentication settings for one or more client applications. The master realm is created by default and is used to manage other realms. A realm contains one or more clients representing applications, e.g., a Next.js application deployed on a specific domain.
Return to your Koyeb Apps list and click on the hostname underneath your Keycloak service to visit the Keycloak welcome page. Click the link to access the Administration Console and log in using the username and password you set using KEYCLOAK_ADMIN and KEYCLOAK_ADMIN_PASSWORD when first deploying Keycloak.
The master realm will be selected by default. Use the dropdown in the top left corner to click the Create realm button. Upload the example quickstart.json realm file from the neondatabase/keycloak-example repository to create a realm.
Once the realm is created you can see a sample user named alice, and a client named nextjs-application within the Users and Clients sections.
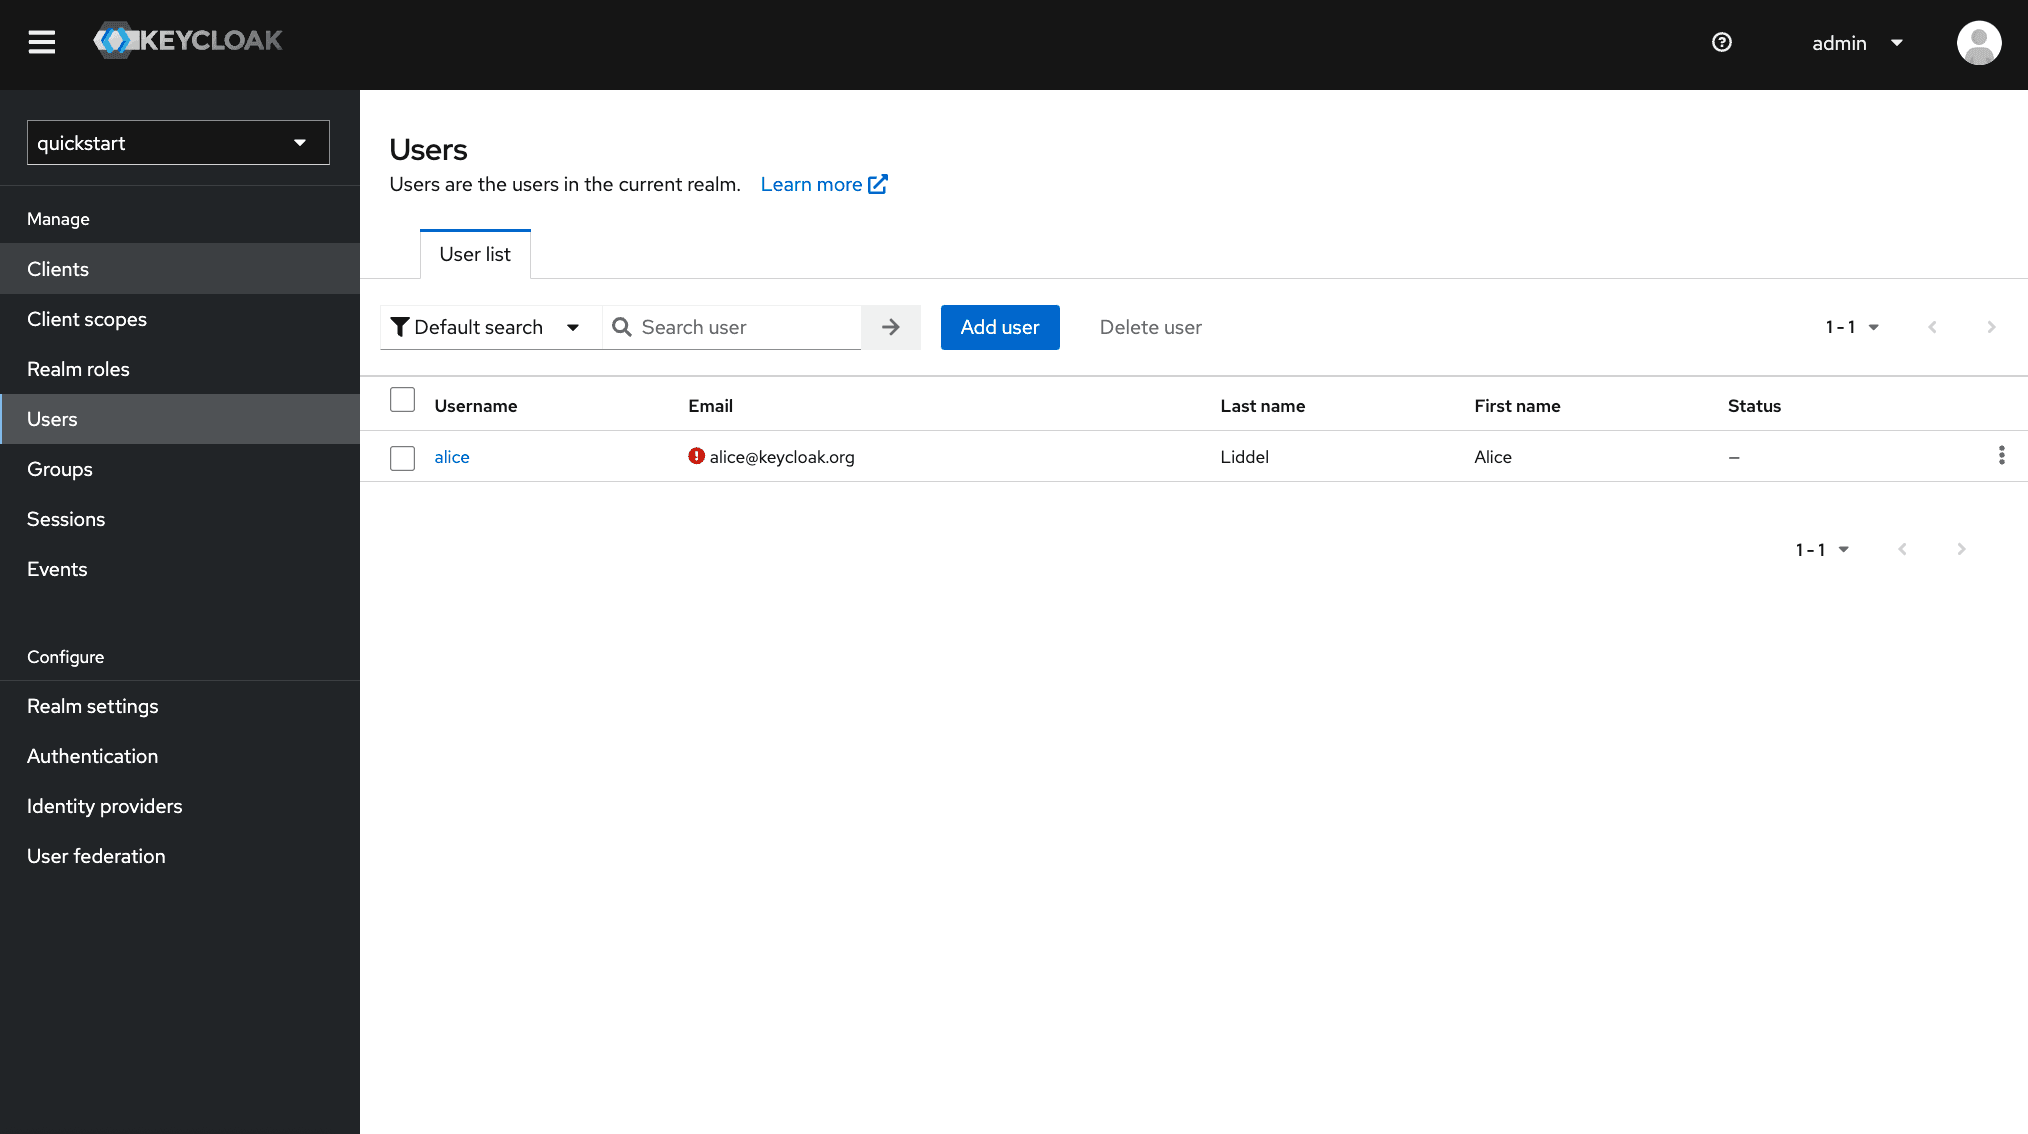
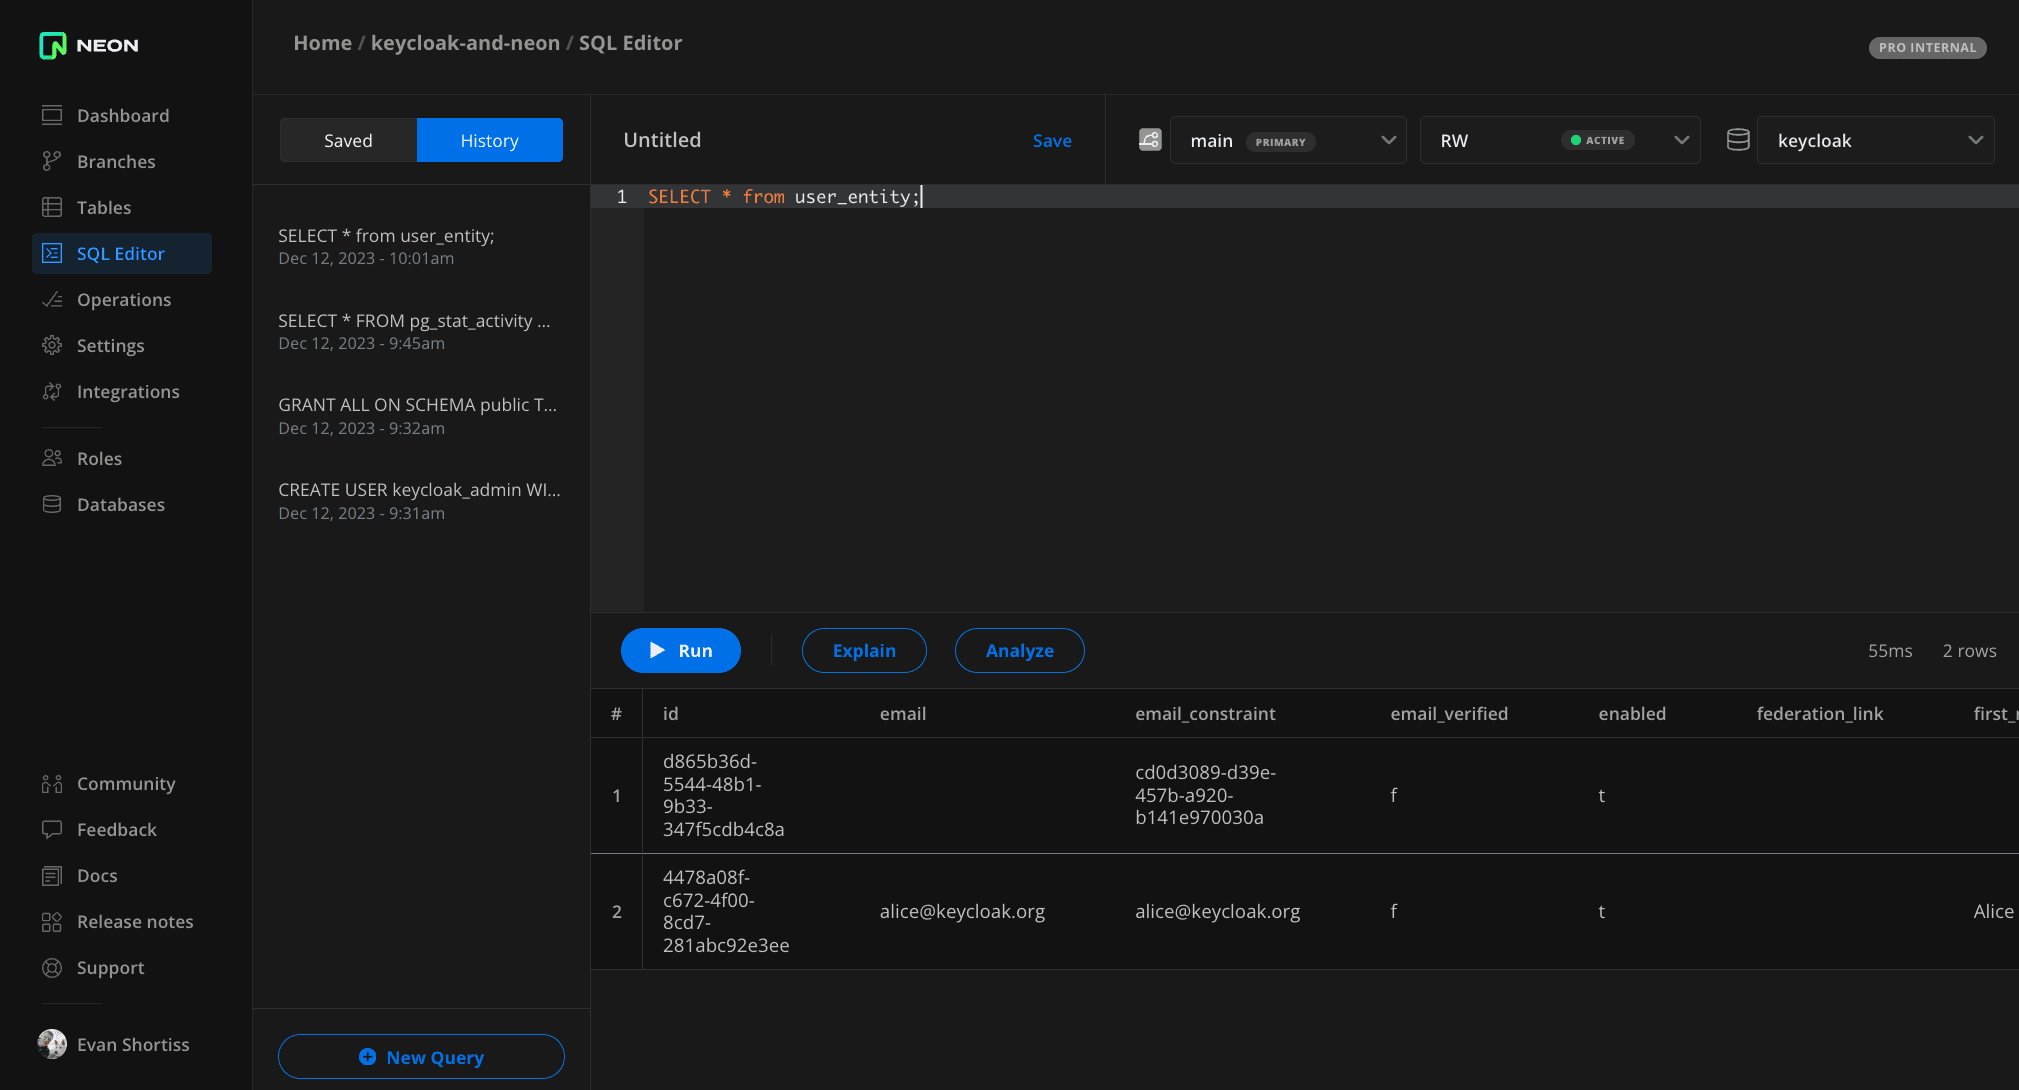
By querying some tables, you can confirm that Keycloak is using your Neon Postgres database. For example:
- Visit the SQL Editor in your project on the Neon console.
- Run the query
SELECT * from user_entity;.
The user named alice defined in the sample realm JSON should be listed in the output.
Connecting a Next.js Application to Keycloak
The repository associated with this blog post at neondatabase/keycloak-example includes a Next.js application that uses NextAuth.js to integrate with Keycloak to perform user authentication.
Clone the repository, install the dependencies, and create a .env.local file:
git clone git@github.com:neondatabase/keycloak-example.git

cd keycloak-example/next-auth-example

cp .env.local.example .env.local

npm i
Edit the .env.local file so that the hostname of the KEYCLOAK_ISSUER points to your Keycloak instance, and generate an AUTH_SECRET using the instructions in the file. Start the application using the npm run dev command, and visit http://localhost:3000 to interact with it.
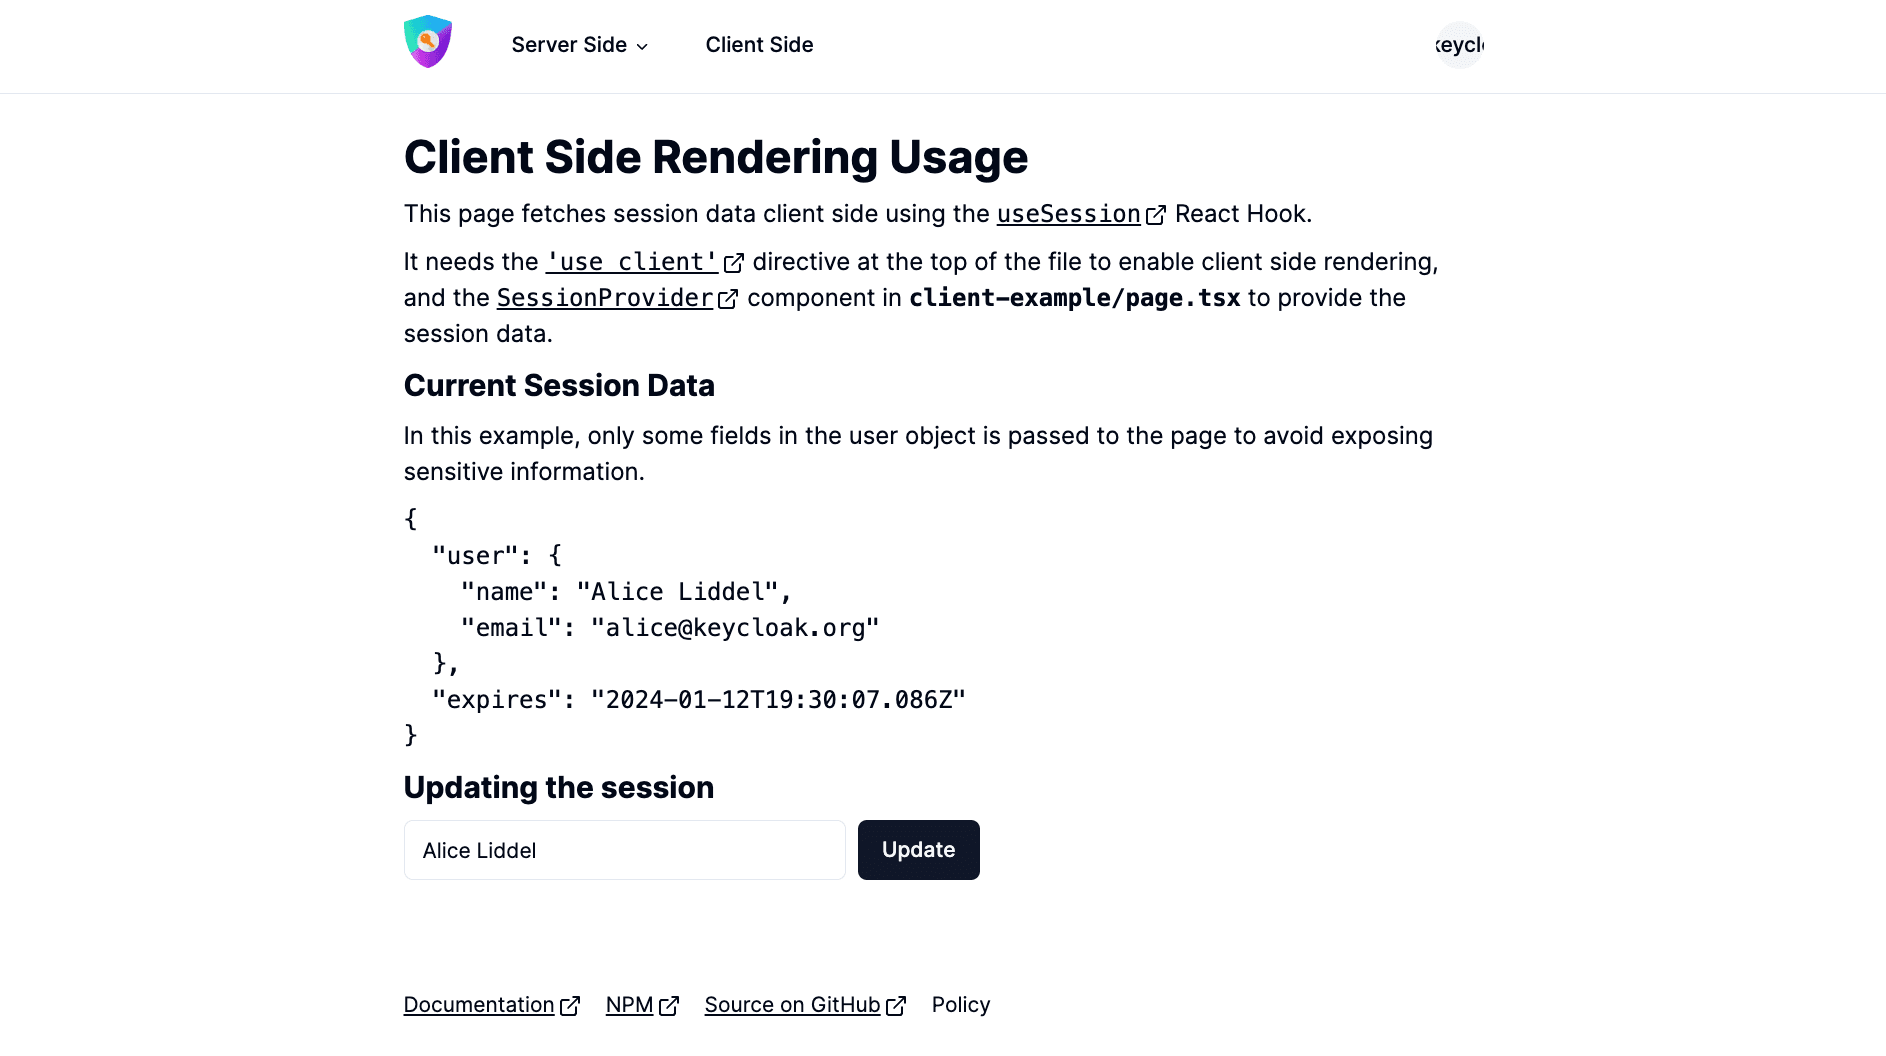
Click the Sign In button in the top right corner to initiate the OAuth-based login flow using Keycloak. You can sign in using the username alice and password alice. Once logged in you can visit the different pages in the application and view the user’s session data.
Conclusion and Next Steps
Now you know how to use Neon as your Postgres storage provider for Keycloak. Consider crafting an optimized Keycloak container for production deployment to decrease startup time, and refer to the Keycloak database configuration guide for information on connection pooling and other database configuration properties. You can also experiment with Neon’s branching and point-in-time restore capability to discover how to restore Keycloak data to an earlier version if needed.
